Now that you finished setting UCC .ini files up (and maybe even the list files if you're using them), let's take a look at the UCC Interface and learn how to use it's different functions.
Start by running the file Converter.exe (the main UCC executable)...
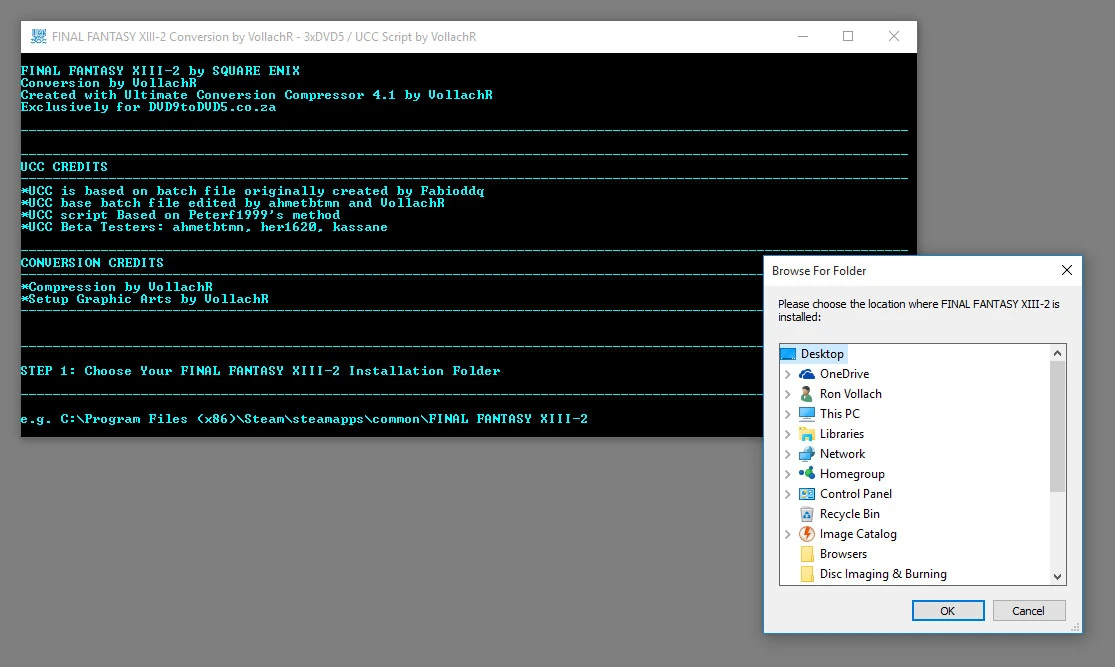
When you first run UCC you will be asked to choose the location where the game you are converting is installed on your computer (figure 1):
Figure 1: Game Folder Selection
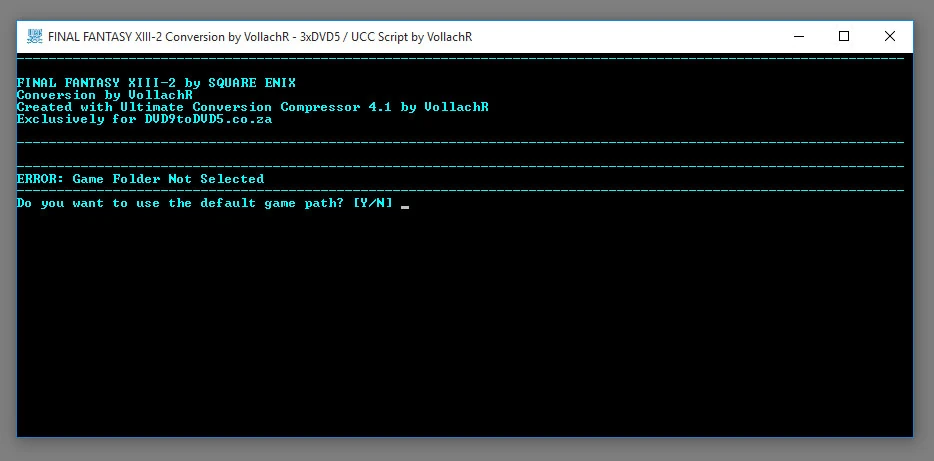
If your press Cancel on the browse window you will be shown a Yes/No choice asking if you want to use the default folder or try to select again (figure 2):

Figure 2: Using the Default Game Folder (Or Not)
If you answer yes by pressing the Y button, UCC will use the example (e.g) folder shown at the beginning or the folder defined under the DefaultDir option in Settings.ini, pressing no (N) will return to the beginning and let you choose a folder again.
The next step is to choose the output directory for the conversion (figure 3):


Figure 3: Choosing Output Directory
This is where the conversion files will be created, whatever folder you select will have a new folder created inside of it which is named by using the MediaPrefix, Discs# & DiscType options in Settings.ini, it is within that folder that the conversion will be created.
By pressing the Cancel button you will direct UCC to use the default location to create the conversion, which is the [Conversion] folder that comes with UCC.
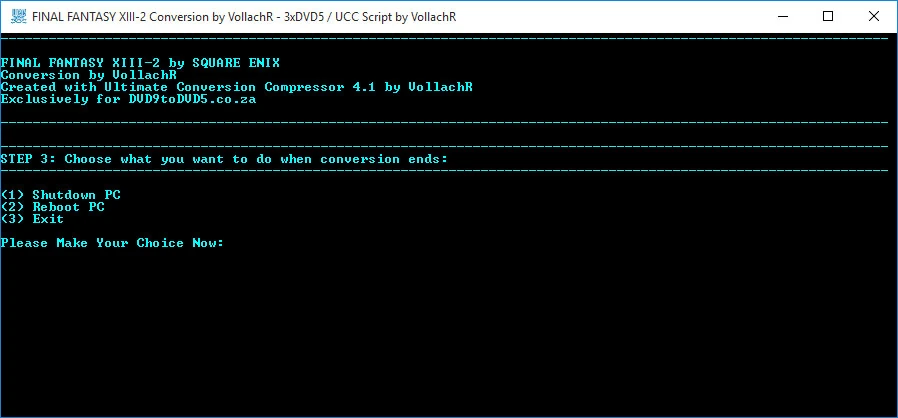
After that you will be asked what you wish to do when the conversion ends:

Figure 4: Selecting End Action
As you can see in figure 4 above, there are 3 options:
Shutdown PC – Will turn your computer off at the end of the conversion, there's a 15 seconds delay to allow the user to abort the shutdown if he/she wishes or close any other program that still works.
Reboot PC – Will perform a restart to your computer at the end of the conversion, there's a 15 seconds delay to allow the user to abort the reboot command if he/she wishes or close any other program that still works.
Exit – This will just close the UCC window when the conversion ends.
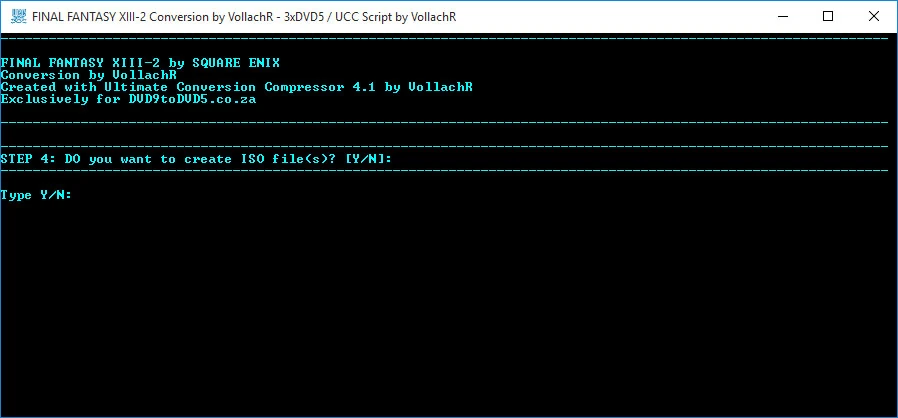
Next you will be asked if you wish to create ISO files for the conversion:

Figure 5: Choose if you want to create ISO
Select yes (Y) to create ISO file(s) before the conversion ends or no (N) to not create ISO file(s) (figure 5).
The next step depends on your answer to the ISO creation question, for the purpose of this tutorial I will assume you answered yes.
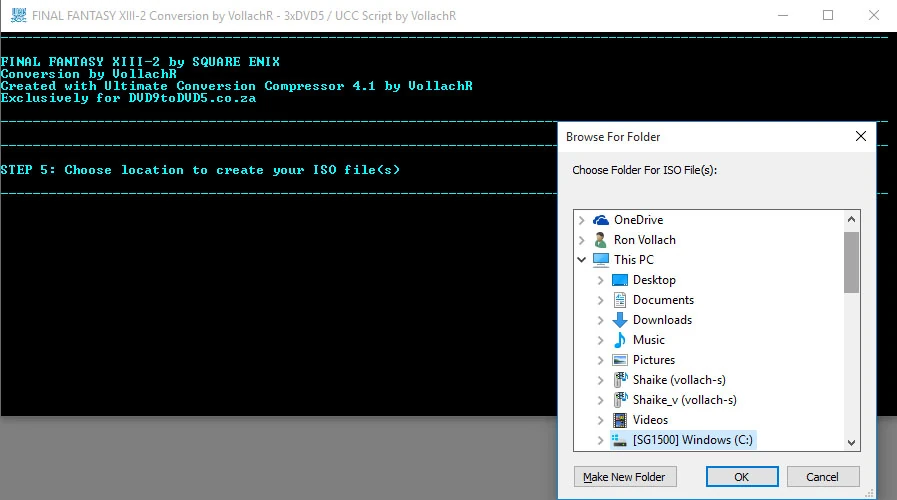
You will now be asked to choose the location in which to save the ISO file(s) (figure 6):
Figure 6: Selecting where to save ISO files
The folder you choose will have the ISO files for your conversion when all things are done, if you press the Cancel button you will tell UCC to create the ISO file(s) in the same directory where the conversion files are.
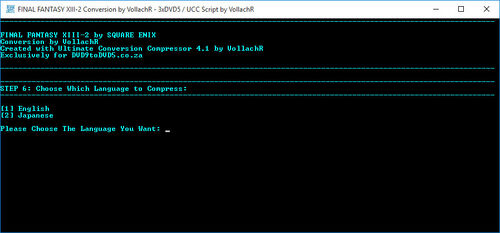
Next up is the language menu (figure 7), this menu will only show up if at least one of the Data#.ini files have Include/Exclude options set for specific languages:

Figure 7: The Language Menu
This menu lets you choose which of the game's language files you wish to keep when compressing, only one language is can be selected. Type the number which correspond with the desired language and press ENTER to continue.
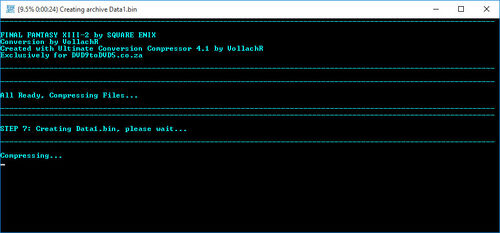
UCC Before v4.1.3: At this time UCC will begin compressing (figure 8) your game files:
UCC v4.1.3: At this time how UCC will continue depends on whether or not you are using CLS-Diskspan or not and whether or not you defined files to split using the splitter function of UCC.
If you set up the splitting section in the Settings.ini correctly the splitter operation will be completely automated, as for Diskspan, it will show you a menu to define the split archive size, once completed UCC will begin compressing (figure 8) your game files: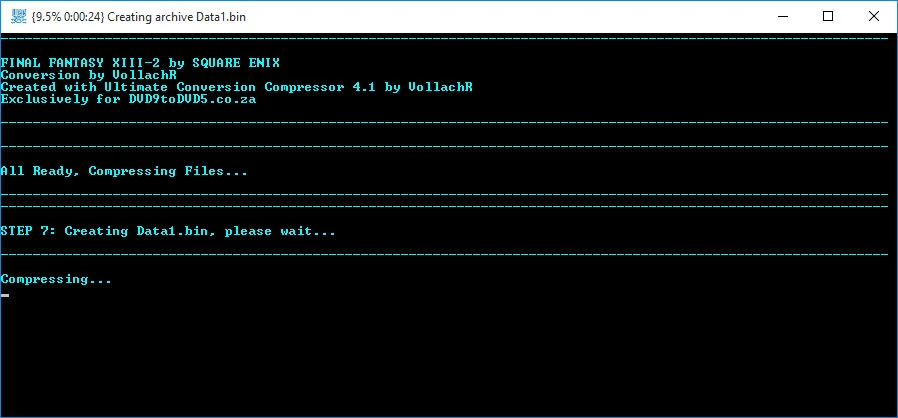
Figure 8: Data files are being compressed
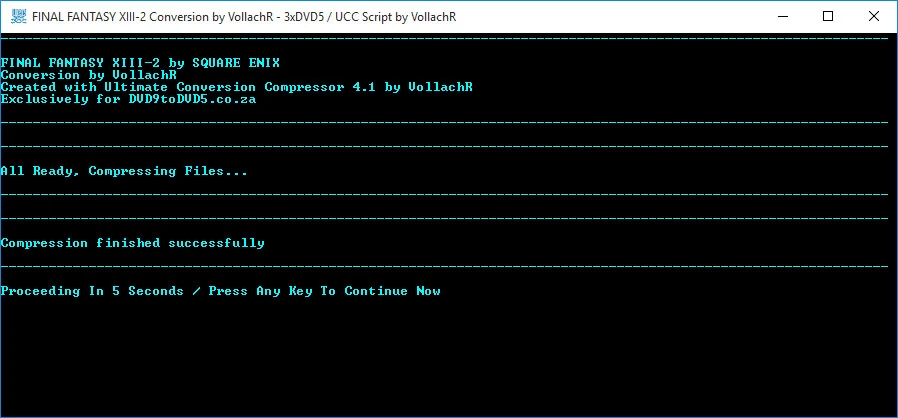
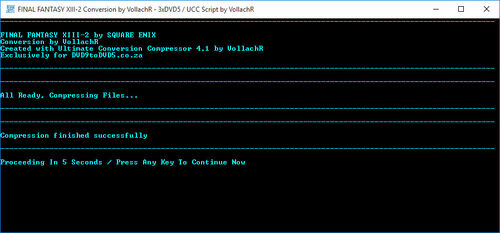
If no errors occur during compression UCC will proceed automatically to the next data file until it reaches the last one to be created and will then give you the compression finished message as show in figure 9 bellow:
Figure 9: Compression Completed
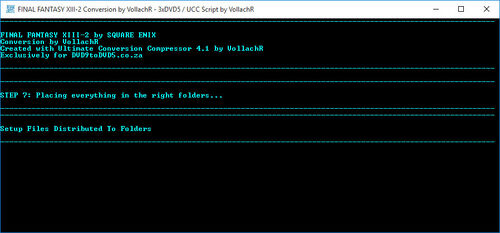
UCC will then distribute the files from the [Common\Setup] folder (figure 10) to the conversion folders:

Figure 10: Distribution of Setup files
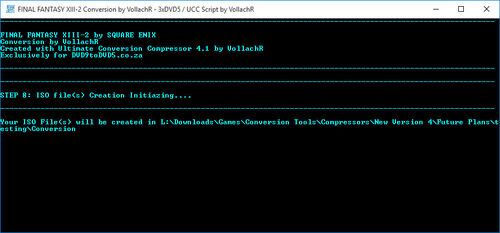
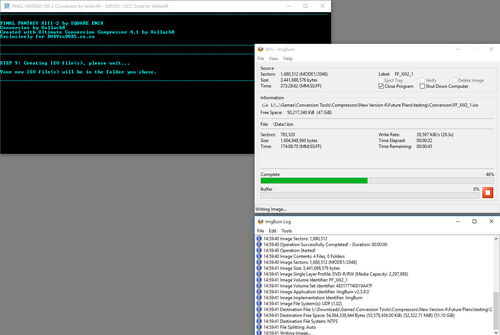
It will then continue and declare the location where you chose to save the ISO files (figure 11) if you selected to create them and begin the ISO creation (figure 12):

Figure 11: UCC Shows the location of your new ISO Files

Figure 12: Creating the ISO file(s)
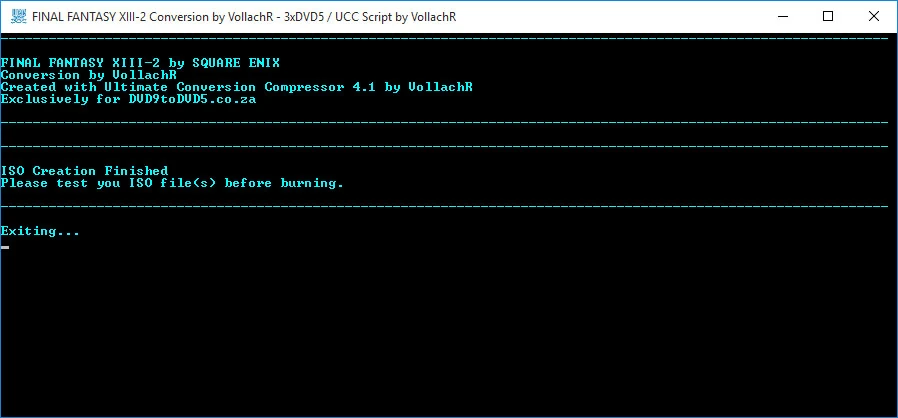
Once the ISO creation is completed a finished message will appear and UCC will perform the action you chose for the end of the conversion (figure 13):
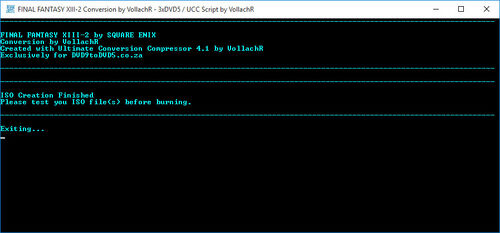
Figure 13: ISO Creation Completed & End Action
If you chose not to create ISO file(s) you will see figure 14 bellow instead:

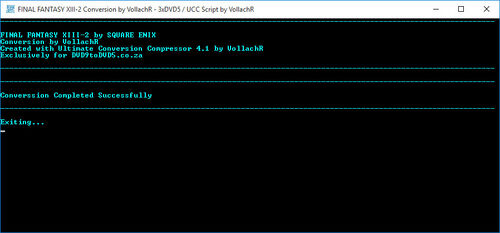
Figure 14: Conversion Completed & End Action
That's it, all done, you now know how to set-up & use UCC.
Enjoy the Ultimate Conversion Compressor (UCC)
Ron Vollach (VollachR)
| Affiliates (Advertisements) |
|---|
") ") |